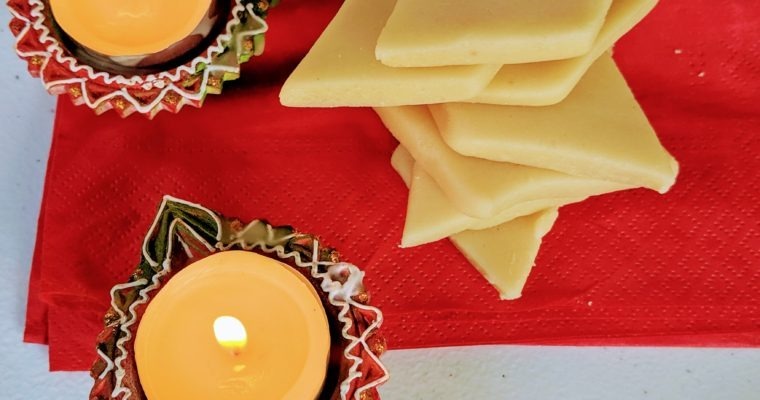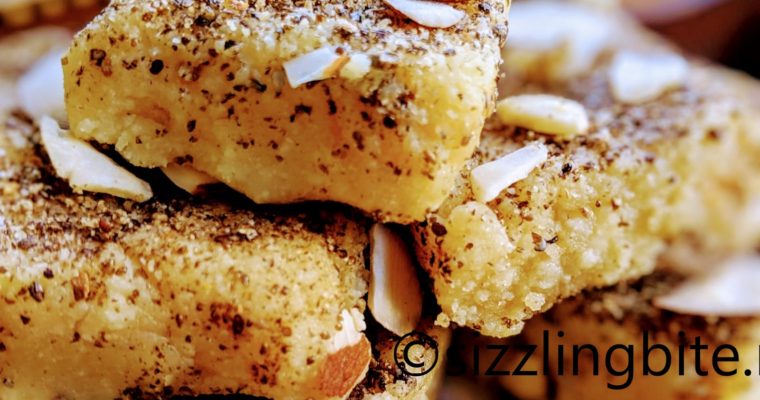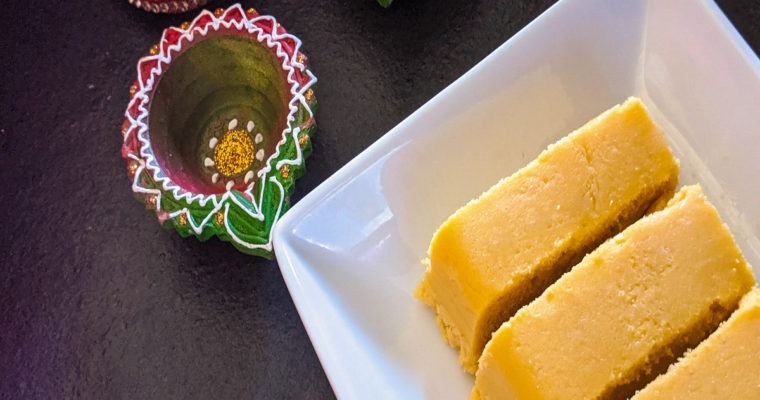
Mysore Pak the traditional Indian sweet is a heavenly fusion of ghee, besan, and sugar. Its originated from Mysore, a state in Karnataka. This rich sweet is made with lots of ghee, sugar, and gram flour. The texture of this sweet is very soft, aromatic and delicious. It will just melt in your mouth when made with generous amount of ghee.
In South India Mysore pak will be on the menu of special occasions like marriages, baby-shower and most festivals like Diwali. This homemade ghee Mysore pak is a perfect sweet that can be made any time you crave something sweet.
They are actually two versions of Mysore pak one is soft melt in mouth and the other is little hard and porous. Here in this post we are showing the softer melt in mouth version.
What makes It Special?
Ghee
Ghee is the most important ingredient that brings out the flavor. This Mysore pak version is very soft with ghee oozing out and please use best quality ghee to get that ghee flavor in every bite of this delicacy. Usually, I make fresh ghee at home before making this sweet. Mysore pak is surely a delightful treat with generous amount of ghee. On the other hand, it turns hard and rigid when made with less ghee.
Besan
Next important ingredient is besan. This sweet will taste great only with fresh besan. Otherwise, it will have a bitter taste. Dont use stale besan flour since it will compromise the quality of the sweet.
How is Mysore pak made?
The texture of this sweet is very soft and delicious if prepared right. Even though the Mysore pak recipe is prepared with just three ingredients, it has to be prepared with extreme care. Our full focus should be on the sweet for the entire cooking time. Its little tricky to get it right for beginners. If done right you will surely win praises as the best chef from friends and family.
- First, the sugar syrup consistency is very important for this recipe. Otherwise, Mysore pak turns little hard or powdery.
- Second, do not hesitate to add hot ghee mixture to the chickpea flour aka besan mixture.
- Third, use a deep tray for pouring Mysore pak so that you get enough depth. Last, it is that 30 seconds where besan mixture starts releasing the ghee and does not absorb any more ghee. Without any delay, transfer it to a deep tray.
Tips for a perfect mysore pak:
Besan should be as fresh as possible or you get a slight bitter taste.
Ghee should be of the best quality.
Make sure you dont over cook or under cook the mixture.
The whole process should be done in medium flame, and stirring continuously is very important.
Mysore pak Recipe
- Course: Dessert
- Cusine: Indian
- Preperation Time: 5 minutes
- Cook Time: 20 minutes
Ingredients
- Bengal gram flour/ besan -1 cup
- Sugar – 1.5 cups reduce to a cup if you prefer mild sweetness
- Ghee – 1.5- 2 cups
Instructions
- Sieve besan and dry roast it until the nice aroma comes and slightly hot to touch and keep aside in a plate to cool.
- Keep the greased bowl/tray ready.
- Melt ghee and keep it over a bowl of water in low flame as the ghee should be hot while adding.
- In a bowl, add 1⁄2 cup ghee with roasted gram/besan flour, mix well and keep aside
- In a nonstick pan take sugar, add just enough water to cover the sugar.Let the sugar dissolve.Then boil sugar syrup until it reaches the one string consistency stage - (If you take the sugar syrup between the thumb and the index finger a single string will form that is the correct consistency).
- When the sugar syrup reaches one string consistency, add the besan mixture stirring continuously. Keep the flame in medium.Once it thickens slightly, add ghee, a little at a time and stir continuously without stopping.
- Adding hot ghee to besan mixture helps the besan to cook so add a table spoon of ghee throughout the process. Also don’t stop stirring the mixture while adding ghee.
- When the besan mixture will become lightly semi solid ,starts to ooze ghee and will leave the sides of the pan, that is the time you remove from flame and pour it into a greased bowl/tray. Be very quick in transferring to tray. Mixture will harden in 30 seconds window.
- Allow it to cool. After it cools a little, cut into desired shapes. Then remove the pieces gently after it is cooled completely.
